In this post I will attempt to describe the steps I took to build the arduino based thermostat shown in the following videos. The first video was taken when around just half of the coding of the menu system was complete, but gives you a basic run through of the features.
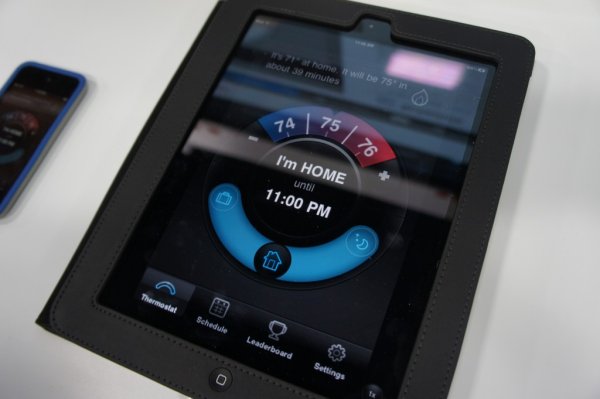
This second video shows the completed thermostat with additional features implemented over the holidays, which includes a Total Heat Time counter, and a line graphing feature which shows temperature variations over a 24 hour period, including when the heating was turned on, so from the graph you could see how long it takes your heating system to bring the house up to the desired temperature.
Circuit Diagram
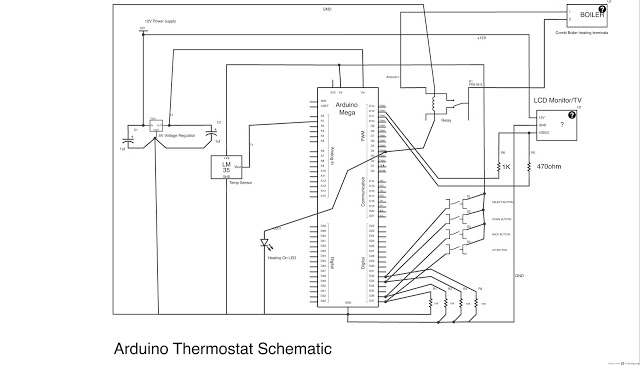
Pin Connections
LCD Monitor Video In – 1K resistor to Pin 11
LCD Monitor Video In – 470ohm resistor to Pin 12
LM35 output pin to Analog Pin A1
Button Down to Digital Pin 33
Read more: Build a fully featured Arduino Thermostat