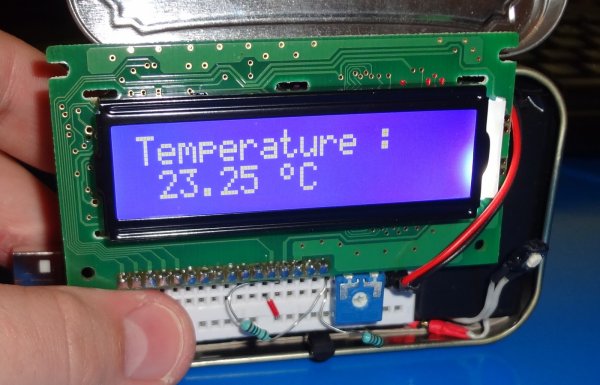
Minimum Mass Wireless LCD Display using ATtiny2313 microcontroller
A 2 line X 16 character LCD display that is battery operated and works without an external connection. The basic MinThe basic Minimum Mass Wireless Coupler technology is described and links to other projects on this site that use the Minimum Mass Wireless Coupler are located on the web page, Minimum Mass Wireless Coupler. Downloads Download …
Minimum Mass Wireless LCD Display using ATtiny2313 microcontroller Read More »