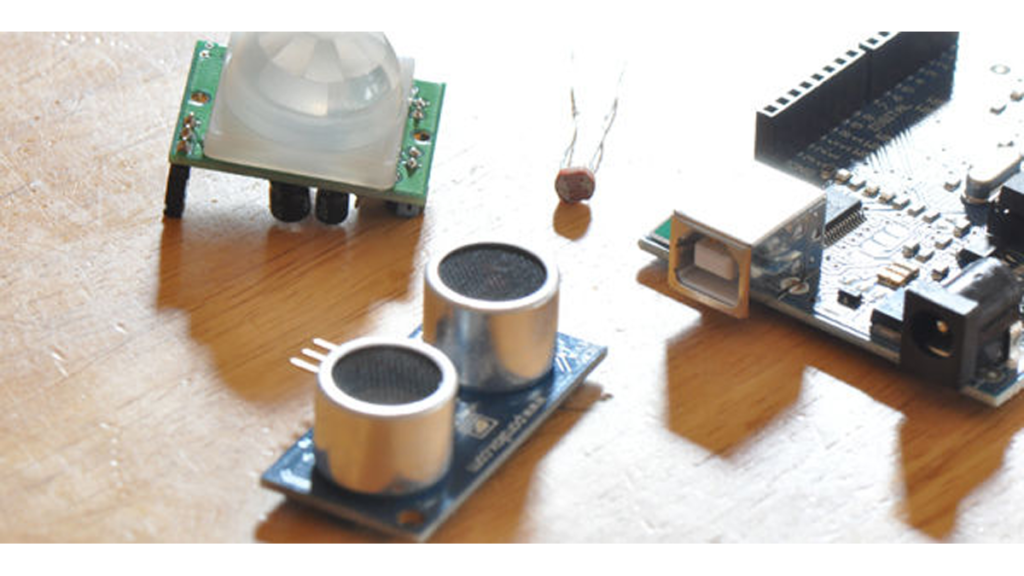
The last time I was home visiting my parents I noticed bumper imprints caused by my mother suburban on the stairs leading up from the garage. Their garage it turns out is just barely long enough to fit their gigantic vehicles. So I decided it would be nice to have some visual cue for parking. Out came the arduino and a sonar range finder from Radio Shack and the result was this tutorial.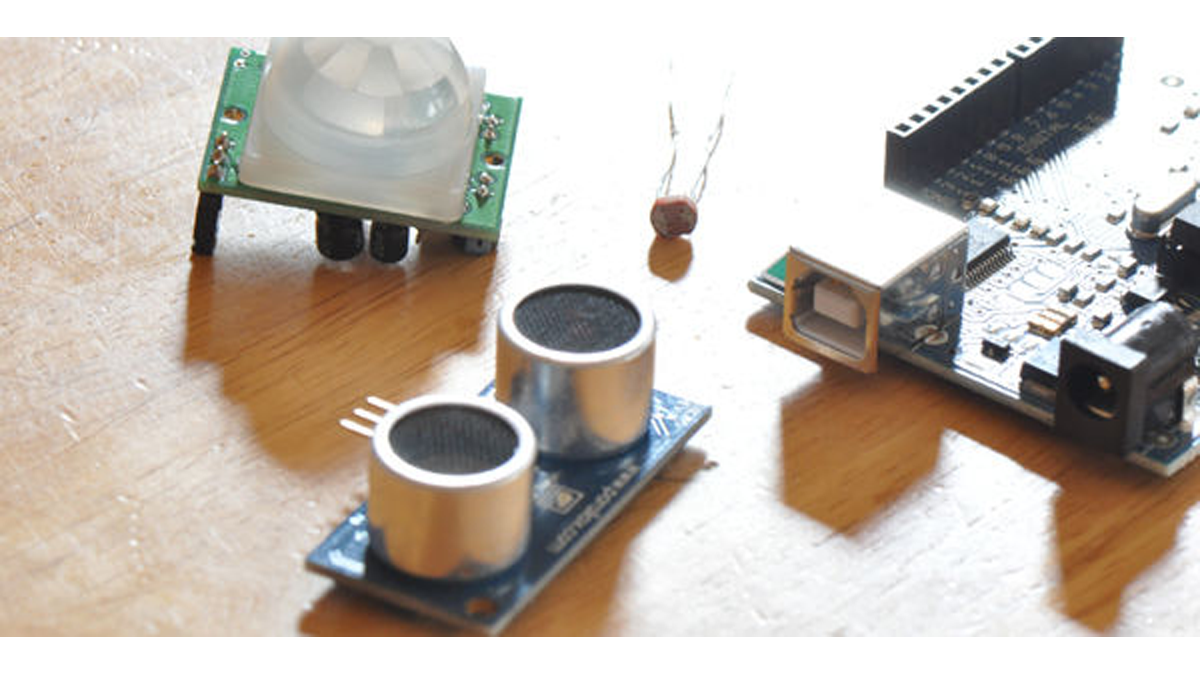
- Hot glue the arduino to the bottom of the box and run the power supple to it
- Connect the 5V and Ground wires to the range finder.
- Connect the Pulse cable from the range finder to a “PWM” input on the arduino (this is necessary because we’ll be sending pulses through the same leed that we listen for a return on). I used digital pin 7 with PWM for the pulse connection.
- Test the tri color LED to find out which connectors make which colors. You will need to keep track of which wire creates which colors and connect them to three digital pins on the arduino. Keep track of the pin numbers. For instance, I connected to digital pins 11, 12 and 13 with red, green and blue respectively.
- Once you have everything connected we’ll start writing the program. After your finished with the programming and you’re sure it works, it’s a good idea to seal everything up in the box to make sure none of the wires get disconnected before you mount the sensor to your wall.
Programming

Luckily, Arduino already provides an example of how to use the pulse sonar sensor. Select the File -> Examples -> Sensors -> Ping example in the Arduino programming kit. Once open, select the code and copy it to a blank sketch. Save the new project under sketches I used the name “parking Example”.
Now we have something to work with. Begin customizing the code. First, we are only going to be measuring inches, not cm so lets comment out the code snippet about halfway down that runs a function to calculate cm. Comment out:
|
1
|
//cm = microsecondsToCentimeters(duration); |
Next we don’t need to send sonar pings out at such a high interval. We only need to ping about every second because the car will (hopefully) be moving slowly into the garage. So at the bottom of the loop function set the delay to 1000:
|
1
|
delay(1000); |
Next we need to tell arduino which pins we’ll be using for our LED output. At the top where we have:
const int pingPin = 7; |
We’ll add:
|
1
2
3
|
pinMode(13, OUTPUT); // bluepinMode(12, OUTPUT); // greenpinMode(11, OUTPUT); // red |
Read more: DIY Parking Sonsor using Arduino