
In this project I’m going to create a simple Datalogger with my Arduino and an Ethernet shield.
I’ll be using a photoresistor and a temperature sensor and all the information will be stored in a micro SD card.
The idea is that you can apply this to any sensor you desire!
Watch the Video below:
Step 1: Parts Required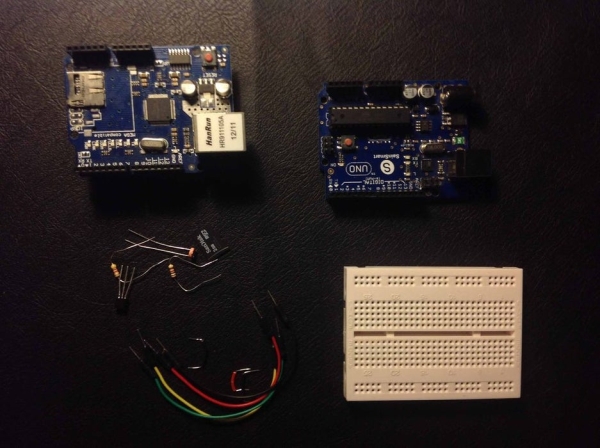
- 1x Arduino Uno
- 1x Ethernet Shield
- 1x Micro SD Card
- 1x Temperature Sensor (I’m using the LM335Z)
- 1x Photoresistor
- 1x 1k ohm Resistor
- 1x 4700 ohm Resistor
- 1x Breadboard (or two)
- Jumper Cables
Step 2: Schematics
 Simply follow the schematics.
Step 3: Upload This Arduino Code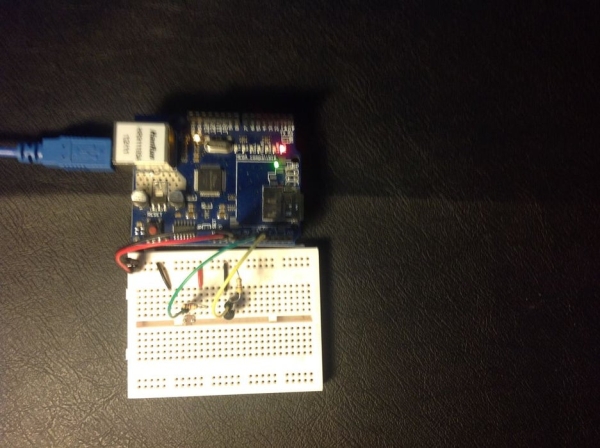
Step 4: Final Step…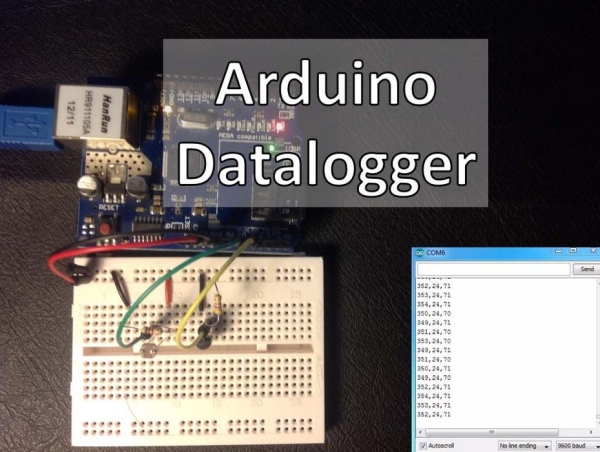
It’s done, now you can modify my code and monitor any sensor you want!
If you didn’t watch the youtube video yet, make sure you watch now.
Not only to see the video demonstration, but you can also find more information that might help you finish this Instructable.
Read more: Arduino – Datalogger With Temperature Sensor and Photoresistor