Benefits of Fire Extinguisher Simulator
- No need to spends a BIG amount of money on directly training firefighters.
- To eliminate CO2 release, training has to be done and equipment needs to be spent at a good cost every year to refill.
- There has to be a way to save money.
- Don’t count on good weather to start training.
- Do not rely on dry chemical or CO2 extinguisher.
- No cleaning problem in this system.
- Fire Safety Plan.
- Safe and easy to use.
- Many of trains can be trained in one day without re-charging on fire extinguishers.
- Allows training to be fully indoors in the work environment.
- Easy to monitor and improve.
- Easy to move.
The common overview is that it uses a real (empty) fire extinguisher with a flashlight instead of a cone at the end of the hose. The flashlight will hit the photo cells on the artificial PVC “fire”, and three or three (3) times the buzzer and flashing LEDs indicate full effort. The user / trainee should replicate the actual use by removing the protective pin, closing the handle and cleaning the flashlight, cleaning the fire-based flashlight. The common overview is that it uses a real (empty) fire extinguisher with a flashlight instead of a cone at the end of the hose. The flashlight will hit the photo cells on the artificial PVC “fire”, and three or three (3) times the buzzer and flashing LEDs indicate full effort. The user / trainee should replicate the actual use by removing the protective pin, closing the handle and cleaning the flashlight, cleaning the fire-based flashlight.
Steps to make Fire Extinguisher Simulator:
Step 1: Arduino Program
Step 2: How to Modify Fire Extinguisher
Step 3: The Fire Extinguisher Simulator System working
Step 1: Arduino Program
Code implementation. Declaration of variables that I count “light hits sensor”. Variables – or ambient light around flames – to measure light bias. As included in the counter, I check if the count reaches my threshold number (12) and then send you a function that has a buzzer and LED light.
Commented on this code, and you’ve also put “Serial.print” and “Serial.println” to help debug the serial monitor.
Step 2: How to Modify Fire Extinguisher
You can use a laser pointer, but decided to use a very bright flashlight and photocell to do this, so you get a great deal of light that goes up to photocells.
You can use alternative fireplaces instead of real fire extinguishers and build from scratch.
Take a Fire Extinguisher. Make sure it’s empty, don’t use a fully charged Fire Extinguisher unit!
Removed the unit’s output tube, and then tested the handles and safety pins.
Remove the valve section to thread the wiring through. You can wire around the valve section area, but that is route, the wire is easily broken during the use. But wanted to develop a product that can use for many years.
Can use two different sized drill bits to drill though from the front to the back, enough to hold two small wires. Put them through taps on the flashlight of your choice on the long through. Use extra-long until I knew I had enough to reach into the end of a flashlight, and slow enough to reach the switch on the other end that we were riding underneath the top handle. On the particular unit I was provided, there was a perfect place to fit a switch mount. Use a free design tool called TinkerCAD and developed a switch mount that would fit in the back of the fire extinguisher and then drill the roller type switch into the mount. The unit I made included a picture and an STL file.
Keep in mind if you do the design, make sure that after replacing the mount and switch you want to use that the switch and the mount handle do not stop compression, otherwise you are putting real pressure on something. Will not feel like CO2 exit. It able to get full movement, for a better simulation feel. For this use a micro-switch with a roller on it
Put the switch on and installed it on my 3D print, then opened the mounting two holes. You can also modify the .stl file to 3d print this mount with holes in it.
Measure the radius tip of the fire extinguisher. Some extinguishers may have a cone instead of a small tip. There is a tip then measured the back section of the flashlight to get the radius of that as well. I went back to TinkerCad and created a design that fit the tip of the flashlight and fire extinguisher. And make the service easier.
Check the attached STL, just print two. The flashlight comes from Harbor Freight.
Removed the back cover of the battery cover on the flashlight, and cut off the push button. It hid a plug to fill the space and attached the wiring to the battery and the case. The hole was filled with a 4-40 screws. The screw head connects to the battery terminal, and then solder the other end and clamp it with two 4-40 nuts to make the circuit up to the switch in the handle. The second wire is tapped and attach with the side of the flashlight case to complete the circuit. Now, test by squeezing the handle and closing the switch, flashlight will come on to verify the operation.
Step 3: The Fire Extinguisher Simulator System working
This circuit is easy to implement. Check the diagram of freezing. If you do not use Fritzing, highly recommend this free tool, because it is easy to document, and if you want to create a real PC board, it can generate the proper files to send off for this service.
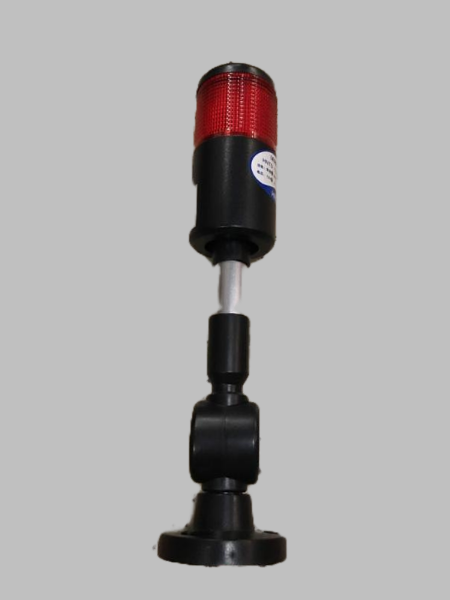
The theory of operation for this device is that we have four (4) photo-cell cells under simulated fire. The photocells receive the constant background light amount, which is registered each time the photocell is polled by the Arduino. Behind the simulated fire is a “biasing” photocell. It is used to carry ambient light to the area around the simulator. Then it is used in programming to make sure that the rotating light is not blocking the photocells. When you move a flashlight from one photocell to another then register the higher intensity light. Each photocell is “hit” three times before it is considered a “sweep” of the fire. This count is made through the Arduino program. Once each photocell reaches to the three, the buzzer will ring and a tower LED